

It’s almost fall season and you know what that means. Sales… glorious sales! The largest online retail season of the year is coming soon (October to December). We wanted to make sure you had all the tools you needed to increase sales and conversions this year on your website. Go ahead and check out this awesome tutorial on how to add popups to your website and get to creating!
Watch the Training on How to Add A Pop Up to Your Website
Read the Transcript Below
Note: This is going to be a very training heavy webinar today. We are going to be talking about how to create promotional materials on your Weeknight Website suite of tools. We will cover popups, notification bars, and customizing thank you pages.
If you do not have Weeknight Website you can check out our Free 7-Day Trial and see how easy (and FUN) it can be to create and launch your website!
How To Create A Free Download Page (2:06 to 3:45)
If you have a subscribe form and want to run a promotion to join your email list for a free download, this is a great way to do that.
The first thing that we’re going to need is to upload something that they can download.
- Go to your dashboard
- Select media library
- Drag in (or browse your desktop) for what you want to upload.
Is the file too large? One of the best ways to upload things is with a .zip file. All you’ll do is compress your file or put it in a folder and then make that a zip file.
Example: if you have a bundle of songs or audio clips or a bunch of worksheets that you want them to receive, uh, put that in a folder and then compress that folder.
Now what I’m going to need is a thank you page so that they can get their free downloads with one click.
Create A Thank You Page (3:46 to 8:33)
- Go to “new page”
- Name it thank you page
- Make it a no header and footer page
- Open the page (it will be empty)
Don’t want to reinvent the wheel and build from scratch? You have a few options!
Option 1: Drag in one a prebuilt row and customize it for your own needs.
Option 2: (our favorite way!) Open your original download page. Save your row as a template. Name it something that you can remember easily. Then add it to your thank you page.
Customize Your Thank You Page
Now that you have your download page and your thank you page set up correctly, let’s hook up your freebie and customize your thank you page! The advantage of having an extra thank you page is instead of just pointing them to the download via email, we can add in a Facebook pixel code specific to the page so that we can track people on our lists.
- Add a button for downloading your freebie
- Get the link from your media library that leads to your freebie
- add the link to your thank you page
- Click done and publish
- Grab the link for this page and now we’re going to add it into our subscribe form
Some other options for the Page
Option 1: make the page a full height row. Click the wrench icon in the left-hand corner of the row settings and under hight click “full-height”
Option 2: make the page a no header no footer option page in the page settings.
Now let’s connect the 2 pages so they work together for seamless customer experience.
- Open the builder on our original download page
- Open the Email form module on your page
- Select redirect under success action
- Add the thank you page as the success URL
- Celebrate your new awesome freebie offer! ????
Last Tip: Make sure you open your download page in an incognito mode in your browser (this will show you exactly what the customer sees) and go through the download process yourself so that you can make sure everything is working properly.
How to Add A Banner To Your WordPress Website (8:33 to 13:55)
And another thing that you might want to do is add a banner that comes down at the top when somebody visits your site. I’m going to show you a way to do it that’s already installed in your Weeknight Website.
- Go to your dashboard
- Navigate to Builder (on the left-hand side)
- Select Themer Layouts
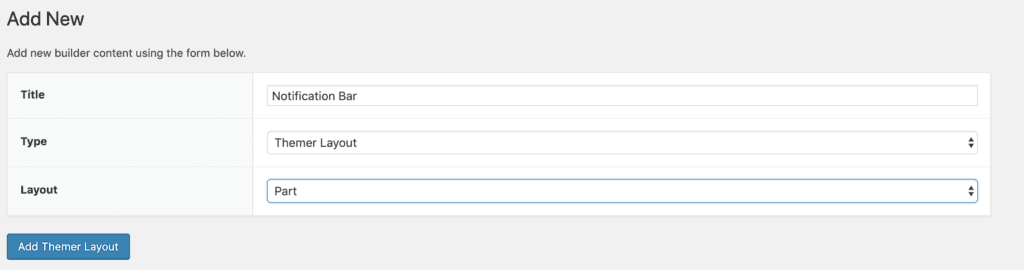
- Click Add New (at the top next to Themer layouts)
- label Your new layout notification bar
- Select Themer Layout
- Under layout select “part”
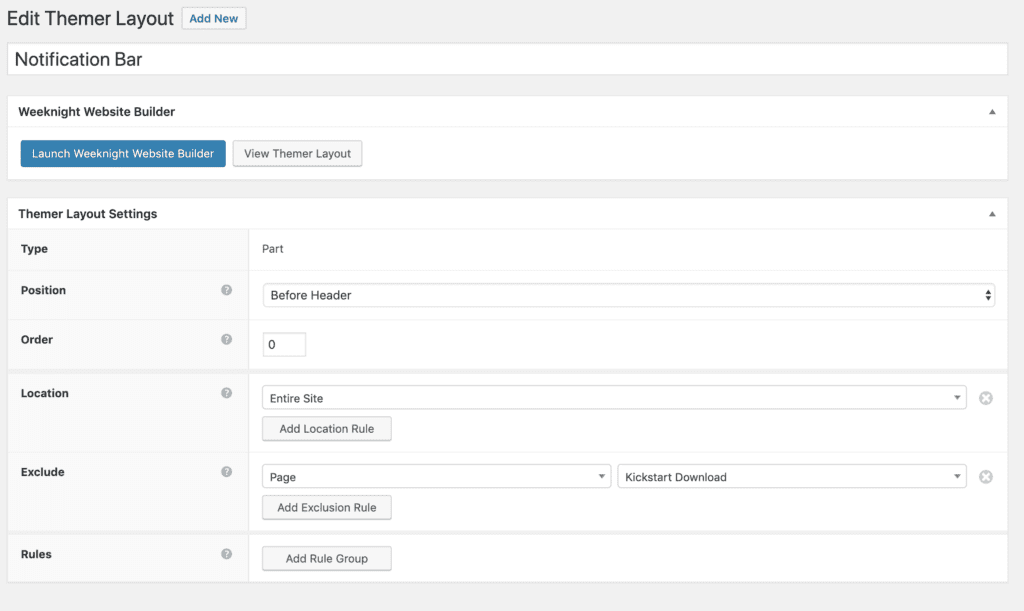
- Position: you can choose where it appears. In this example we want it to appear before the header navigation. If you wanted to add it somewhere else, there are tons of other options. Feel free to experiment.
- Location: You will need to tell the bar where you do and do not want it to show up. For example, you don’t want on your thank you or download page, but I do want it on my homepage. The easiest thing to do is set the Location to “entire site” and then click add exclusion rule to pick specific pages you do not want it to show on.
- Launch the Weeknight Website Builder
- Add a row right.
- Make it full width
- Style your row however you like by adding a background color, text, and even images if you want.
- Once you are happy with the look of your notification bar, click done and publish.
- Navigate to our home page to see how it looks.
Other Options: You can have the notification bar sitting at the top automatically on loading the page or you can add animation. A word of caution when it comes to animations: Some of these might look really silly. Be careful and be subtle when you’re using animations. The more that you use animations the cheesier it can look.
Create A Pop-Up Banner (13:55 to 25:49)
We offer a plugin with Weeknight Website that you can use to create pop-ups. However, there is another more customizable way to create a pop-up that I will show you now.
The first thing you are going to want is a saved row and we are going to create a page template. Weeknight Website makes creating your own website templates super simple and easy to use!
- Go to “new” and select “template” (at the top in the black WordPress admin bar for your website)
- Add a name for your template
- Type is “template”
- Click Add Saved Template
- Launch the Weeknight Website builder
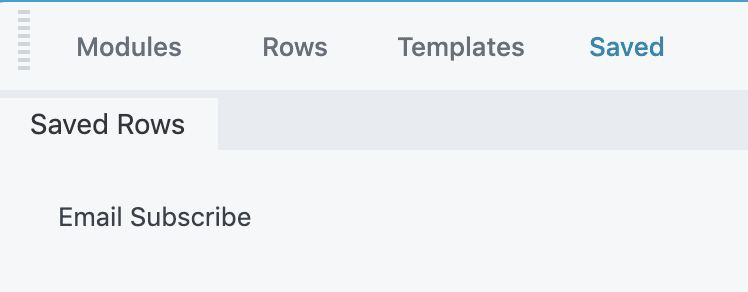
- Click the plus icon in the upper right-hand corner
- Under saved, select your saved row and drag it into your template page
- Click Done and Publish
Now that we have the saved template, we can use it in so many ways across the website. There are actually some modules that allow you to use templates to load inside of them. To add your pop up to your homepage
- Navigate to your home page and then open your Weeknight Website builder.
- Click the plus button
- Drag in this module called modal box (note: you can drag it anywhere on the page. It’s not actually going to show up where you put it, it’s gonna show up based on a set of rules we will define.)
- You can choose is if you want it to be standard (a smaller box on your screen) or if you want it to be full screen (the entire screen gets taken over by the pop up)
- Add a title if you want one, this will appear outside of your template
- Add your saved template into the window
Note: If you have a mailing list company that gives you forms that you can embed you will want to go ahead and use HTML to embed the form. All you do is paste the HTML code into the modal box here and it will show as a pop-up.
Deciding on a Trigger
Next, we need to decide on a trigger for the pop up to show. A trigger is an action that will cause the pop-up to show automatically when the trigger action is met. Please note that the “other” option is for CSS and should only be used if you know Javascript or CSS thoroughly.
Auto: this will automatically display the pop-up after your set time delay (ie. 20 seconds)
Exit intent: When a website visitor is navigating off your website and intending to leave, you can trigger the pop-up to show them your offer one last time.
On Click: This allows you to create a button and show the pop-up when a user clicks the button to get your offer.
The next thing is to choose if it has a background color or not. If I didn’t have a template with a predefined background color, I might actually choose color or image to load here.
Once you are happy with the look of your pop-up click “Save” and then done and publish.
If you ever want to preview it again, navigate to your builder and just click on the modal box.
You can also decide on the animation it’s going to come up at. The default is set to fade-in, which looks nice and is unobtrusive.
Other Fun Tools to Try (23:41 to 25:49)
While we do have a lot of great tools you may already be using, here are a few small tools you may want to try out as well and may not already know that we have pre-installed for you!
To see all the Weeknight Website plugins we have installed go to your website dashboard and go to Plugins on the left-hand side.
Hustle Pro: This plugin is great for your GDPR slide in. You can also connect your mailing list through Hustle Pro. There’s popups, slide-ins, all of that. You can just activate it on your Weeknight Website and play with it in the backend. It’s not quite as visual as our Weeknight Website builder but if you don’t want to work with templates and modal popup’s, this is another option for you.
Lead Pages Connector: Some of our Weeknight Website members use lead pages and lead boxes in particular for your popups. With Weeknight Website you can actually go ahead and connect your lead pages account and then use their lead boxes, integration for popups, um, by using this plugin.